
I’ll be honest: I used to toss a shirt the second a button fell off or a tiny hole appeared. It felt easier than pulling out a needle and thread. But over the past few years, I’ve fallen in love with mending. Not just because it saves money and keeps clothes out of landfills—but because it makes me feel closer to my wardrobe. Learning **how to mend clothes** is one of the most empowering skills you can develop as a conscious shopper. And you don’t need to be a seamstress to do it.
Mending is not about perfection. It’s about intention. Whether you’re patching a worn knee, darning a moth-eaten sweater, or reattaching a strap, each repair is a small act of resistance against disposability. Here’s what I’ve learned about **how to mend clothes** in a way that actually sticks—and looks good.
Why Mend? The Case for Repair
First, let’s talk about why this matters. The average American throws away about 80 pounds of clothing per year, much of which could have been repaired. Mending extends the life of your garments by months or even years. And honestly? A well-done mend can make a piece more interesting. I have a pair of jeans with a visible patch that I now wear more often than my “perfect” pairs.
Mending also saves you cash. Taking a shirt to a tailor costs $10–$20; doing it yourself costs pennies. Plus, it’s deeply satisfying to wear something you’ve fixed with your own hands. If you’re just starting out with **how to mend clothes**, don’t overthink it. Pick one technique and practice on a piece you’re not precious about.
Essential Tools for Mending Clothes
Before you dive in, gather a small kit. You don’t need much: a few needles in different sizes, thread in common colors (black, white, navy, denim blue), a pair of small scissors, and some fabric patches or scraps. I also keep a seam ripper on hand for mistakes. If you want to master **how to mend clothes**, having the right tools makes all the difference.
For darning, you’ll want a darning egg or a smooth, round object (a lightbulb works in a pinch). For patching, fusible interfacing can help stabilize the area. And don’t forget a thimble—it saves your fingertips when pushing through thick denim. I keep all these in a small tin that lives in my closet. When a repair pops up, I can grab it and fix the problem in under fifteen minutes.
Basic Techniques: Darning, Patching, and Stitching
Now let’s get into the actual **how to mend clothes**. Here are three foundational techniques that cover most repairs:
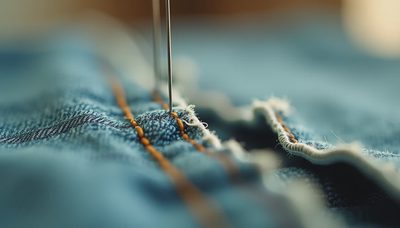
Darning
Best for holes in knits—sweaters, socks, scarves. Thread a needle with matching or contrasting yarn, and weave horizontal and vertical threads across the hole to create a new fabric. It takes practice, but even imperfect darning adds character. Start with a small hole and work your way up.
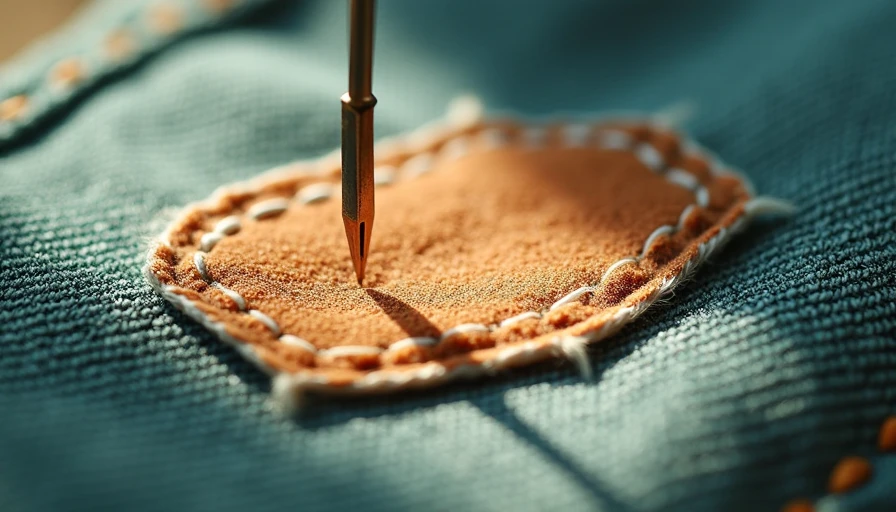
Patching
Great for tears or worn areas on jeans, shirts, or jackets. Cut a patch slightly larger than the hole (from an old garment or a store-bought patch). Pin it inside the garment, then stitch around the edges. For a clean finish, use a whipstitch or running stitch. You can also use fusible web for no-sew patching, though hand-stitching lasts longer.
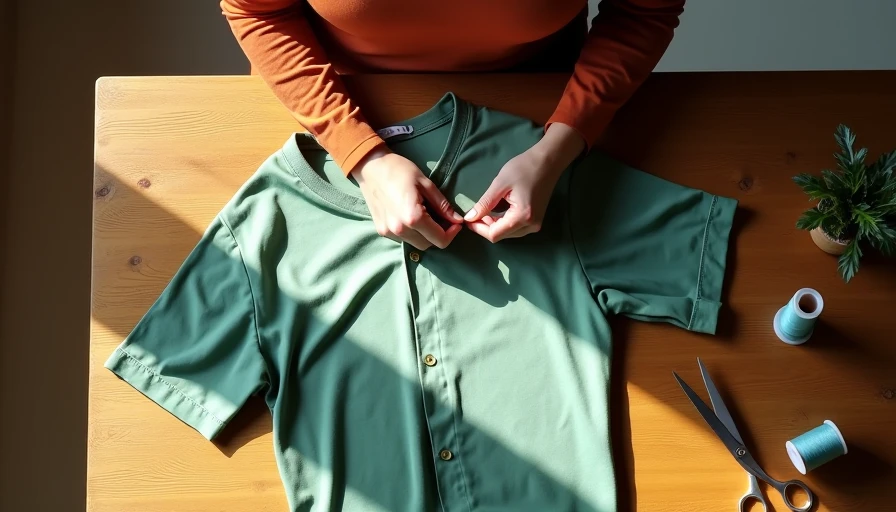
Basic Stitching
Reattaching buttons, mending seams, fixing hems. Learn the running stitch (in and out) and the backstitch (stronger, for seams). A simple ladder stitch closes ripped seams invisibly. Practice on an old T-shirt first.
Once you learn these three, you can handle 90% of clothing repairs. When you’re ready to explore more advanced **how to mend clothes**, look into sashiko (Japanese visible mending) or speed-weaving for larger holes.
Tips for Visible Mending
Sometimes a repair is most beautiful when it’s not hidden. Visible mending embraces the flaw and turns it into a design feature. I love using brightly colored thread or contrasting fabric for patches. It’s a conversation starter and a way to express your style. A few tips: choose a color that complements the original fabric, keep stitches even, and plan your design before you start.
Visible mending works especially well on denim, linen, and wool. I have a pair of olive green trousers with a light pink patch under the right pocket—they’re my favorite pair now. The key is to treat the mend as part of the garment’s story, not a mistake to hide.
When to Call It Quits (and Upcycle Instead)
Not every garment deserves a full mend. If the fabric is thin beyond repair, the stain won’t come out, or the item no longer fits, it might be time to upcycle. Cut it into rags, turn it into a tote bag, or repurpose the fabric for other mends. I keep a scrap bin of old T-shirts, jeans, and button-downs—they’re perfect for patches and practice.
Mending isn’t about hoarding everything you own. It’s about being intentional with what you keep. If a piece has truly lived its life, thank it and let it go. But for most minor issues, a little thread and patience can keep it in rotation for years.
I hope this guide to **how to mend clothes** gives you the confidence to try. Start small: fix a button this week. Next week, try a patch. By the end of the month, you’ll have saved at least one garment from the trash—and discovered a small, joyful habit that makes your wardrobe feel more your own. Wear it again, but better.


Travellers Write
No letters yet — be the first traveller to write.