
If you've ever hesitated to throw away a beloved sweater with a tiny hole, you're not alone. **Visible mending** turns that instinct into a creative practice that saves money, reduces waste, and adds personality to your wardrobe. Instead of hiding repairs with invisible darning, you highlight them with contrasting stitches, patches, and embroidery. This approach not only extends the life of your clothes but also tells a story of care and intentionality.
What Is Visible Mending?
**Visible mending** is exactly what it sounds like: repairing damaged clothing in a way that makes the repair obvious—and often decorative. Rather than trying to match the original fabric or weave, you use contrasting threads, bold patches, and expressive stitches to transform a flaw into a feature. This technique has roots in Japanese boro and sashiko traditions, where fabric was patched and stitched out of necessity, creating beautiful, layered textiles. Today, **visible mending** is a deliberate choice that celebrates the history of a garment rather than erasing its wear.
Why Visible Mending Fits a Sustainable Wardrobe
Every time you mend a piece of clothing instead of tossing it, you keep it out of a landfill and reduce demand for new resources. The fashion industry is one of the world’s biggest polluters, and extending the life of your clothes by just nine months can cut their carbon and water footprint by up to 30%. **Visible mending** makes repair feel creative rather than punitive, so you’re more likely to actually do it. Plus, it saves you money—a spool of thread costs a fraction of a new shirt. When you add visible stitches to a favorite pair of jeans or a worn sweater, you create a one-of-a-kind item that no one else has.
Getting Started: Tools and Materials for Visible Mending
You don’t need a lot to begin, just a few essentials:
- **Needles:** A set of embroidery needles (sharp with larger eyes) and a darning needle for thicker threads.
- **Thread:** Embroidery floss (like DMC) comes in hundreds of colors. Also try sashiko thread, perle cotton, or regular sewing thread doubled up.
- **Patches:** Scraps of denim, cotton, linen, or even old favorite fabrics. Iron-on patches work but hand-stitching lasts longer.
- **Scissors:** Small sharp embroidery scissors for clean cuts.
- **Embroidery hoop:** Not essential but helps keep fabric taut for even stitches.
- **Optional:** Fabric glue, fray-check, a thimble for tough fabric.
I keep a small mending kit in a tin, so when I spot a hole, I can fix it immediately instead of letting it grow.
Beginner-Friendly Visible Mending Techniques
Basic Darning
Darning is the most classic **visible mending** technique for holes in knitwear. Weave thread back and forth across the hole, then perpendicular to create a new grid of fabric. Use a darning egg or mushroom to support the area. Contrasting thread makes the repair stand out.
Patch Appliqué
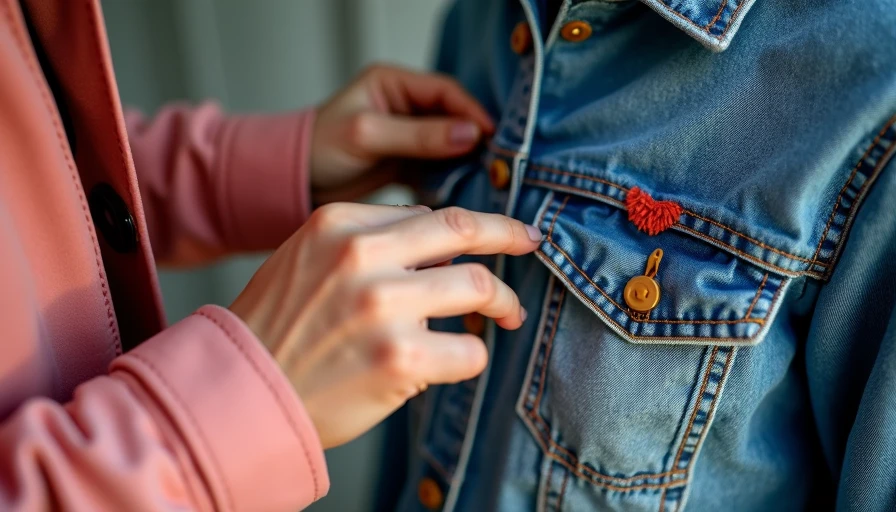
For tears or worn spots on sturdy fabrics like denim, cut a patch slightly larger than the damage. Pin it behind the hole, then blanket stitch or running stitch around the edge with a bright thread. You can also place the patch on top for a layered look.
Decorative Embroidery
Add flowers, stars, or geometric patterns over a stain or small hole. This turns a flaw into a design element. Use simple stitches like satin, French knots, or lazy daisy. I once mended a coffee-stained shirt with a small embroidered cup—it became a conversation piece.
Sashiko Stitching
This Japanese running stitch uses long, even lines to reinforce fabric. Traditionally white thread on indigo, but any color works. Use it to strengthen weak seams or add texture along a mended area.

Where to Apply Visible Mending on Your Clothes
Common spots that need mending:
- **Elbows:** Sweaters and shirts often thin at the elbows. Add an embroidered patch or darning in a contrasting color.
- **Knees:** Jeans and trousers get holes on the knees—perfect for bold patches or sashiko reinforcement.
- **Pockets:** Where jeans pocket corners tear. Stitch a decorative patch over the rip.
- **Collars and cuffs:** These areas fray but can be reinforced with blanket stitch or a thin line of zigzag embroidery.
- **Underarms:** Shirts develop holes here; darning with a matching thread works, or go playful with a pop of color.
Caring for Your Visibly Mended Garments
**Visible mending** is durable if you treat your clothes gently. Wash mended items inside out in cold water, air dry or tumble dry low. Avoid bleach, which weakens both fabric and thread. If a repair starts to unravel, reinforce it with extra stitches. Over time, multiple layers of mending can create a beautiful patchwork effect—my favorite pair of mended jeans now has six different visible repairs, each telling a story of a hike, a bike crash, or a messy cooking session.
Embrace the Imperfect
You don’t have to be a master embroiderer to practice **visible mending**. Start with a small hole on a pair of socks or a simple running stitch over a frayed seam. The goal isn’t perfection—it’s keeping clothes in use and expressing your personal style through repair. Wear your mends proudly. They’re proof that you care enough to make things last. And remember, **visible mending** is about the beauty of imperfection. So pick up a needle, choose a bright thread, and give your favorite pieces a second life.
*Wear it again, but better.*


Travellers Write
No letters yet — be the first traveller to write.